
By the Dropship Stair team. Last reviewed: November 2026.
Key takeaways
- Learning how to add a store locator to Shopify is mostly a setup job: gather your location data, pick an app, and publish the map page.
- For how to add a store locator to Shopify, a store locator app is the fastest route for most stores, because it creates the page, handles search, and needs no code.
- Accurate data matters more than a pretty map, so check every address, hour, and phone number before you publish.
- Test the locator on a phone with location services on, because most nearby buyers search while they are already out.
How to add a store locator to Shopify is simple: install a locator app, add your locations with hours and contact details, style the map to match your theme, and add the page to your navigation. Follow the seven steps below to get started.
What is a store locator, and when does a Shopify store need one?
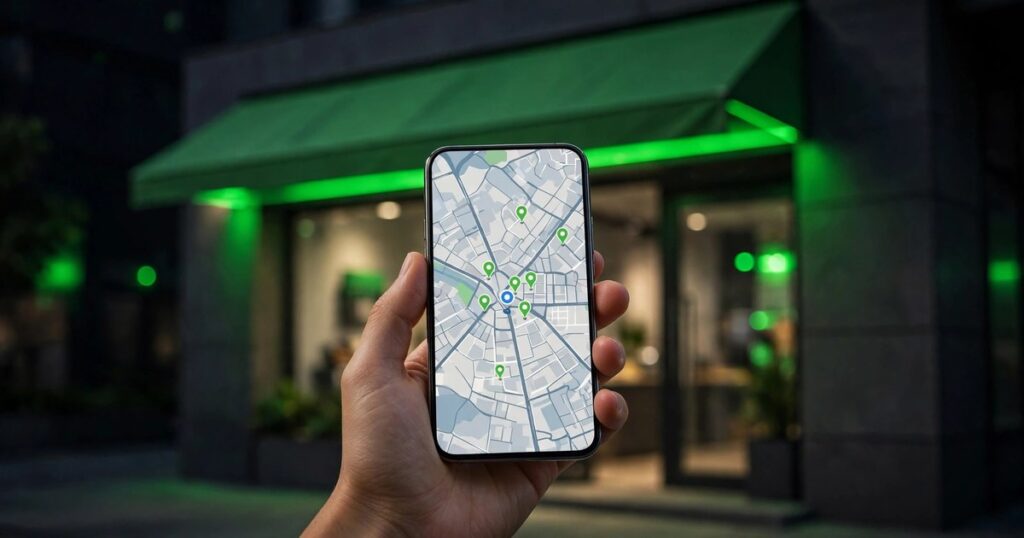
A store locator is a map and list on your website that shows buyers where your physical stores are, how far away each one is, and how to get there. A buyer types a city or ZIP code, or taps a button to use their current location, and the locator shows the nearest stores with addresses, hours, phone numbers, and directions. It turns a website visit into a store visit.
How to add a store locator to Shopify: which method should you choose?
Most stores should use a locator app from the Shopify App Store. The app creates the Store Locator page for you, adds the map and search, and lets you manage locations from a dashboard without touching code. Popular options include StoreRocket, Storepoint, Store Locator by Byte Apps, and Mapstore. Storepoint lists pricing from 25 dollars per month, and Store Locator by Byte Apps lists pricing from 7.90 dollars per month with a free trial available, while Mapstore offers a free plan with no API key needed. Check the current pricing on the Shopify App Store before you choose, because plans change.
The second method is a standard embed. Some locator tools give you a snippet of code to paste into a Shopify page or a Custom Liquid section, which places the locator wherever you want it. The third method is a custom build, where a developer creates a locator with Google Maps or Mapbox and your own data. That route suits large chains with special needs. For most small and mid-size stores, the app route is faster, cheaper, and easier to maintain. Our best Shopify apps for dropshipping guide explains how to judge any Shopify app before you install it, and the same checks apply here.
Step 1: Gather every location detail in one list
Before you install anything, make a single list of every location with the same fields for each one: store name, full street address, city, state, ZIP code, phone number, email if you publish one, opening hours for each day, and any services that location offers, such as pickup, repairs, or appointments. Add the latitude and longitude if you have them, but most apps can find the location from the address alone.
Step 2: Choose a store locator app that fits your store
Open the Shopify App Store and search for store locator to start how to add a store locator to Shopify the right way. Compare the top apps on four points: how many locations the plan covers, whether it supports CSV import or Google Sheets sync, whether it works with a theme app block or needs an embed, and what it costs per month. Read recent reviews and check when the app was last updated, because a locator app that has not been updated in a year may not work well with current themes.
Step 3: Install the app and connect it to your store
For how to add a store locator to Shopify, open the app page from the Shopify App Store, click Install, and choose your store. The app will ask for the permissions it needs, such as access to your theme or your pages, so read them before you approve. A locator app needs enough access to create its page and add its map block, but it does not need access to your orders or customer data, so question any permission that looks unrelated.
Follow the app setup flow. Most locator apps create a Store Locator page in your store automatically and then take you into the setup screens. Do not skip the setup flow, because it sets the map provider, the default search radius, and the page the locator lives on. If the app asks for a Google Maps or Mapbox key, add it now or use the trial key the app supplies, and note when the trial ends so the map does not stop working without warning. Our Shopify store design services page explains when to ask a designer for help with app setup.
Step 4: Add your locations by hand, CSV, or Google Sheets
Add locations the way that matches how often your list changes. Manual entry suits a small list or a one-off addition: type the name, address, hours, and phone number for each store, save, and check it on the map. CSV or Excel import suits an existing spreadsheet: upload the file from Step 1 and check that every column matched the right field. Google Sheets sync suits a list that changes often, because the app can pull updates from the sheet on a schedule.
Step 5: Style the map to match your theme
Open the app design settings and match the locator to your store. Choose your brand colors for the map pins, the search button, and the list highlights, and pick a map style that fits your theme. Upload your own marker image if the app supports it, such as a small version of your logo, so the pins look like your brand instead of a generic red dot.
Keep the design simple and readable. The map should show pins clearly, the list should show the nearest stores first, and the search box should be obvious at the top. Avoid dark map styles on a light theme, tiny text, or too many filters on the first screen. Check the design on a phone: the map and the list should stack cleanly, with the search box at the top and the nearest stores below it. For the wider design rules, see our guide to Shopify store branding.
Step 6: Publish the locator page and add it to your navigation
To finish how to add a store locator to Shopify, publish the locator through the method your app uses. If the app uses a theme app block, add the block to the Store Locator page in the theme editor and save. If the app uses an embed code, paste the code into a Custom Liquid section on the page, exactly as copied, and save. Either way, open the published page in a private window and confirm the map loads, the search box works, and the list shows your locations.
Add the page to your store navigation with a direct label buyers understand, such as Find a store, Stores, or Store Locator. Put it in the main menu if you have several locations, or in the footer if you have one. A locator page that buyers cannot find is the same as no locator, so do not bury it under a vague menu label. Add a link to it from your contact page too. Check the page speed after publishing, because a map adds scripts to the page. Our Shopify store launch checklist covers the final checks for any new page, including navigation, mobile layout, and load time.
Step 7: Test search, directions, and mobile, then keep the data fresh
Test the locator the way a buyer would. Search by city, by ZIP code, and by street address, and check that the nearest store comes first each time. Tap the use my location button on a phone with location services on, and confirm it finds the closest store. Tap the directions link and confirm it opens the right address in Google Maps or Apple Maps.
| Method | Best for | What to know |
|---|---|---|
| Locator app from the App Store | Most stores, fastest setup | Monthly fee, check plan limits and map keys |
| Standard embed code | Placing a map on an existing page | Paste the code exactly, check mobile layout |
| Google Maps embed | One location, no search needed | Shows pins but no store search or filters |
| Custom build with Maps or Mapbox | Large chains with special filters | Needs a developer and ongoing maintenance |
| Plain list of addresses | Temporary fix only | Buyers must find the nearest store themselves |
Start with a locator app. It covers nearly every store, creates the page for you, and handles search, filters, and mobile layout. Move to an embed or a custom build only when you have a specific need the app cannot meet, and keep the data accurate no matter which method you choose.
Frequently asked questions
Do I need a Google Maps API key for a Shopify store locator?
It depends on the app and the map provider. Some apps use Google Maps and ask for your own API key on paid plans. Others use OpenStreetMap and need no key, and some offer a free plan with no key required. Check the app listing before you install.
How much does a Shopify store locator app cost?
Costs vary by app and plan. Mapstore offers a free plan with no API key needed, Store Locator by Byte Apps lists pricing from 7.90 dollars per month, and Storepoint lists pricing from 25 dollars per month. Check the current price on the Shopify App Store before you choose.
Can I add a store locator to Shopify without an app?
Yes, you can embed a Google Map on a page for a single location. A plain map shows pins but does not search or sort by distance. For more than one location, an app is the practical choice, because it handles search and updates easily.
How do buyers search for the nearest store on my locator?
Buyers type a city, ZIP code, or address into the search box, or tap a button to use their current location. The locator then lists the nearest stores first, with distance, hours, phone, and directions for each one. Test both methods on a phone before you publish.
How often should I update my store locator data?
Review the list at least once a month, and update it right away when a store moves, closes, or changes hours. Check hours before holidays, confirm phone numbers still work, and remove locations that no longer exist. Stale locator data sends buyers to the wrong place.
Learning how to add a store locator to Shopify pays off when nearby buyers become store visitors, and it only works when the data is right and the page is easy to find. Gather your locations in one clean list, pick an app that fits your store, add and check every pin, style the map to your brand, publish the page in your navigation, and test it on a phone. Keep the data fresh, and the locator will quietly send buyers through your door for years. Dropship Stair builds Shopify stores with local pages like this designed in from the start, so online and in-store buyers get the same clear experience. For the conversion work that follows a store visit, see our guide to Shopify store conversion rate.
Sources: StoreRocket, How to Add a Store Locator to Shopify, checked November 2026; Shopify App Store listings for Store Locator by Byte Apps, Mapstore, and Storepoint, checked November 2026; the Dropship Stair guides linked in this article.